Ever wonder how your favorite Indian restaurant gets that incredibly vibrant, smoky, and deeply flavorful Chicken Tikka? You might think it requires a roaring clay tandoor oven, but you can actually recreate that authentic restaurant-style experience right in your home oven.
This recipe delivers juicy, heavily spiced chicken with those coveted charred edges. Even better? It is incredibly meal-prep friendly. Whether you are hosting a dinner party tonight or stocking your freezer to conquer future cravings, this foolproof recipe is about to become your new kitchen staple.
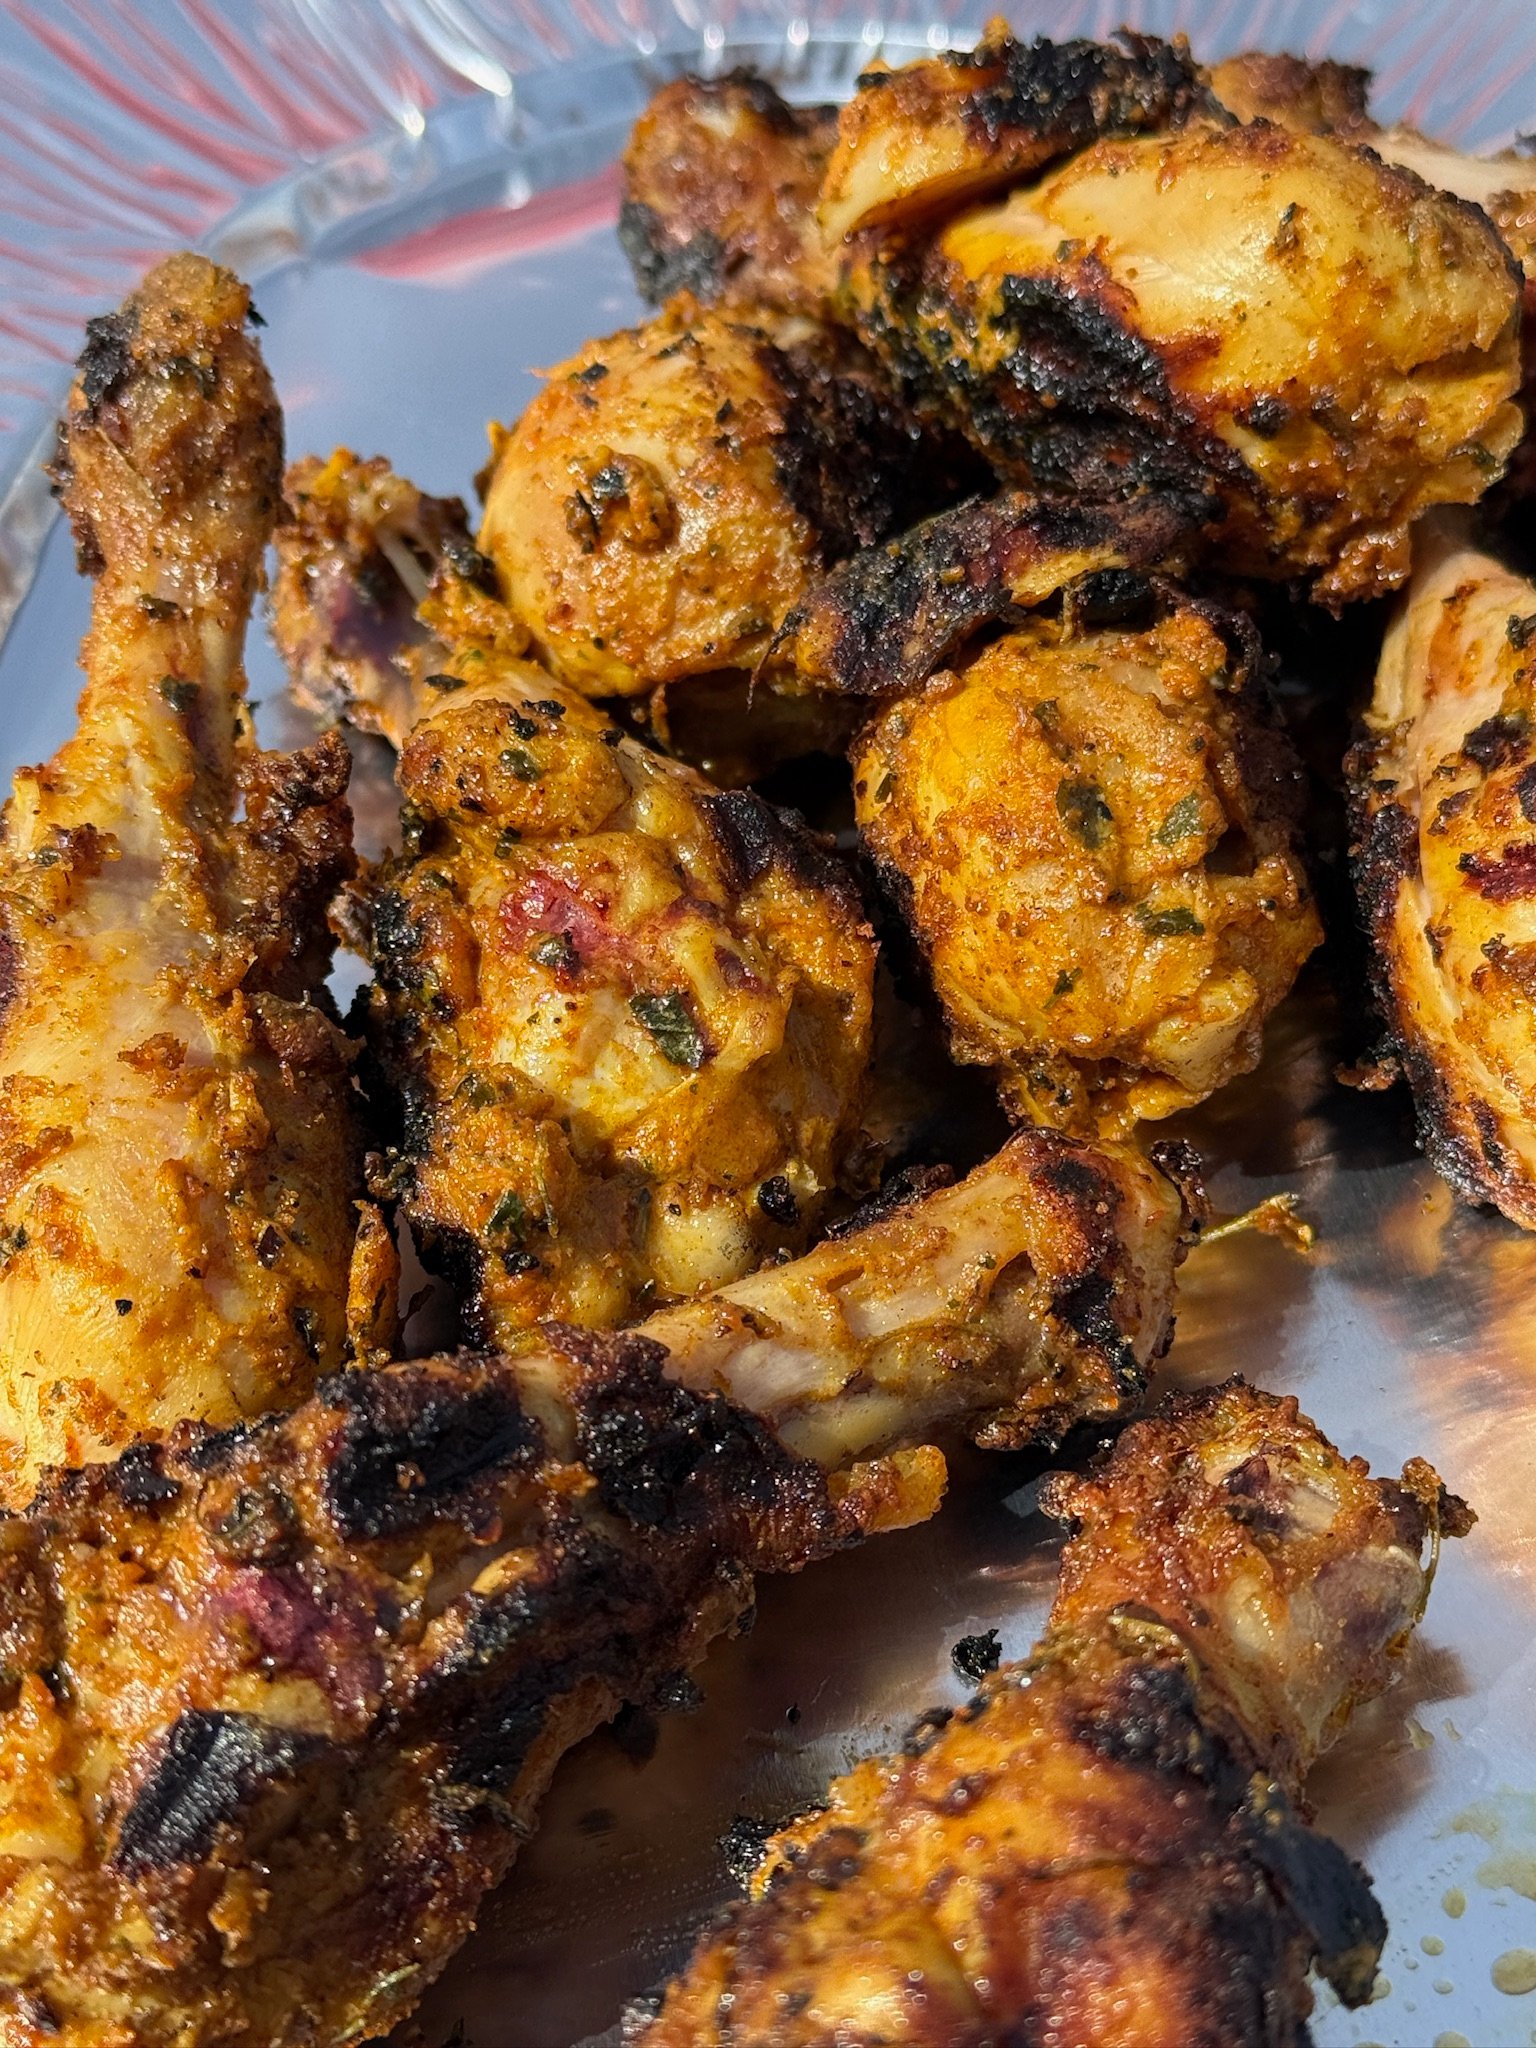
The Secret to Authentic Chicken Tikka at Home
To get that distinct restaurant flavor profile, we aren’t just mixing ingredients in a bowl—we are unlocking them.
First, we use mustard oil as our base. Its sharp, pungent kick gives the dish its signature traditional undertone. Second, we bloom the dry spices directly in the oil before adding anything else. Because the most flavorful compounds in spices like Kashmiri chili and garam masala are fat-soluble, hitting them with oil first activates their vibrant color. It forces the flavor to penetrate deep into the meat.
Combined with thick Greek yogurt and a fiery, fresh paste of smashed ginger, garlic, and green chilies, this marinade creates a thick crust that clings to the chicken and chars beautifully under the grill.
💡 The Pro Secret: The Hot Coal Method (Dhungar)
Want to take this from “great home-cooked food” to “people will swear you ordered takeout”? You can give this dish an authentic charcoal-smoked aroma using the Dhungar method right before cooking.
- How to do it: Once your chicken is fully mixed into the marinade, clear a small space in the center of the bowl. Place a small, heat-proof metal bowl or a small piece of folded aluminum foil there. Heat a small piece of natural lump charcoal over a gas flame until it glows red hot, then place it into the foil cup using tongs. Pour a half-teaspoon of ghee or oil directly onto the hot coal—it will instantly start smoking heavily!
- Trap the smoke: Immediately cover the entire bowl tightly with a lid or aluminum foil. Let it sit trapped for 3 to 5 minutes to let that rich, earthy charcoal flavor infuse directly into the marinade.
Don’t have charcoal? No worries at all! The intense heat from your oven grill combined with the mustard oil gives this chicken incredible depth on its own. It still tastes absolutely fantastic even without the smoke step.
Ingredients You’ll Need
- 1 kg Bone-in chicken pieces (or boneless chicken thighs)
For the Vibrant Marinade:
- 1/3 cup Mustard oil
- 2–3 heaping tbsp Greek yogurt
- 1 tsp Spicy chili powder
- 2–3 tsp Kashmiri chili powder (essential for that bright red color without artificial dyes!)
- 1 tsp Garam masala
- 2 tsp Coriander powder
- 1 tsp Cumin powder
- 1/2 tsp Turmeric powder
- 2.5 tsp Kasuri methi (dried fenugreek leaves)
- 3–4 tbsp Lime juice
- Aromatics: 7–8 big cloves of garlic, a thumb-sized piece of ginger, and 3–4 green chilies—smashed together into a rough paste
- Salt to taste
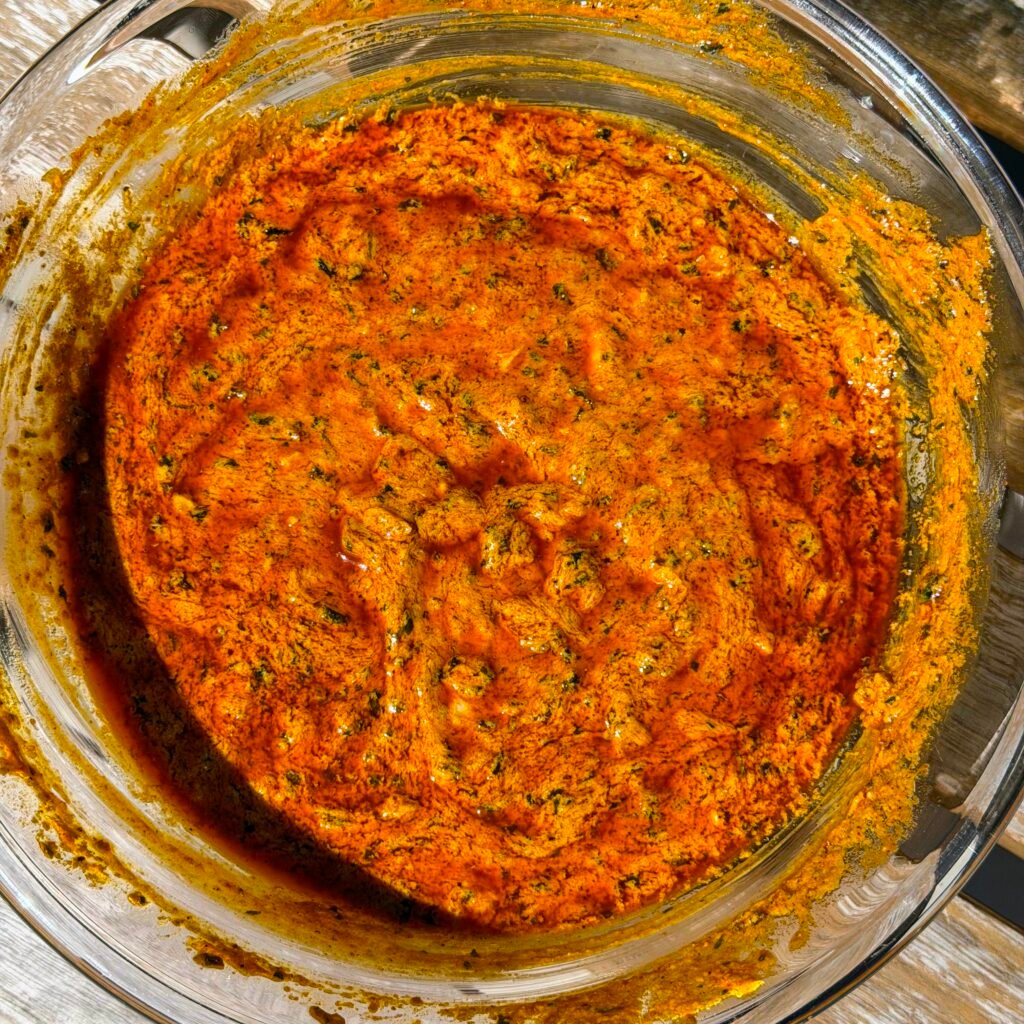
Step-by-Step Cooking Instructions
Bloom Spices In a large bowl, whisk together the mustard oil and dried spices (spicy chili, Kashmiri chili, garam masala, coriander, cumin, and turmeric). Let them sit for a minute to bloom; this activates the spices for vibrant color and deep flavor penetration.
Build Marinade Stir in the kasuri methi, smashed ginger-garlic-chili paste, and lime juice. Whisk in the Greek yogurt until the marinade is thick, smooth, and fully combined.
Prep & Marinate Make deep slits in your chicken pieces so the marinade can penetrate straight to the bone. Toss the chicken into the bowl, using your hands to ensure every piece is heavily and evenly coated. (Optional: Perform the hot coal smoking method here for 3-5 minutes). Cover and marinate in the fridge for at least 2 hours (overnight is even better!).
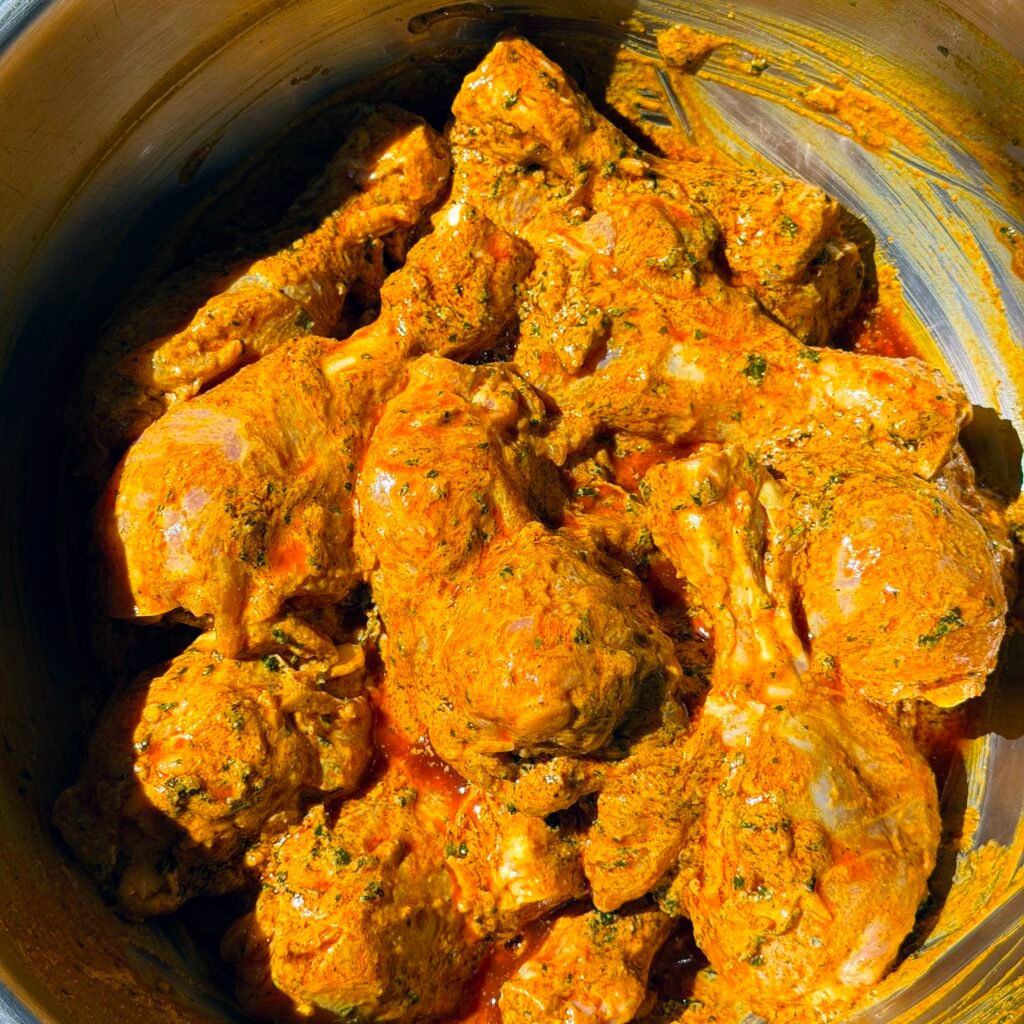
Setup & Initial Grill Line a baking tray with foil for easy cleanup and place a wire grill rack over it. Arrange the marinated chicken on the rack. Grill on your oven’s third slot from the top at 200°C (using the grill/broil setting) for 15 minutes.
The Char Move the tray up to the second slot from the top and increase the heat to 220°C. Grill for an additional 5 minutes until the chicken is cooked through and sports those beautifully charred, smoky tandoori edges.
Serve Serve hot alongside a refreshing coriander-mint chutney or cooling raita, some sliced red onions, and an extra squeeze of lime juice. Enjoy!
Meal Prep & Storage Guide: Beat Future Cravings
This recipe is an absolute dream for meal prepping. You can store it at two different stages depending on how fresh you want it later on:
Storing Raw in the Freezer (Best for Future Cravings) – You can freeze the chicken directly in the marinade! Place the slitted chicken and marinade into a heavy-duty freezer bag, squeeze out the air, and massage it to distribute the paste.
- Storage Time: Freeze for up to 3 months.
- To Cook: Thaw completely in the refrigerator overnight, then grill exactly according to the recipe instructions. The chicken will be incredibly tender because it marinates as it thaws!
Storing Cooked Chicken (Best for Weekly Meal Prep) – If you want quick proteins ready for lunches, salads, or wraps throughout the week, cook the chicken completely first.
- In the Fridge: Store cooked chicken in an airtight container for up to 3 to 4 days.
- In the Freezer: Store cooked chunks in a freezer-safe container or bag for up to 2 months.
- How to Reheat: Reheat gently in a hot skillet with a splash of water and a lid on to retain moisture, or air-fry at 180°C for 4–5 minutes until warmed through.
Frequently Asked Questions (FAQs)
Can I use boneless chicken breast instead?
You can, but boneless chicken thighs or bone-in pieces are highly recommended. Chicken breast dries out very quickly under high heat grill settings, whereas thighs stay juicy and can handle the intense heat needed to get those charred edges.
What can I substitute for mustard oil?
If you cannot find mustard oil, you can use any neutral, high-smoke-point oil (like avocado, canola, or vegetable oil). To mimic a bit of that traditional punch, you can add a half-teaspoon of ground mustard powder to your spice mix.
What is Kashmiri chili powder, and do I need it?
Kashmiri chili is a mild chili powder prized for its vibrant, deep red color rather than its heat. It is what gives restaurant style tandoori chicken its iconic look without using red food coloring. If you substitute it entirely with standard chili powder, the dish will become incredibly spicy! Use a mix of paprika and a pinch of cayenne if you need a quick substitute.
Can I cook this directly on an outdoor charcoal grill?
Absolutely! If you have an outdoor charcoal grill, you’re going to get an even more authentic restaurant-style finish.
If I’m using the outdoor charcoal grill, should I still do the Dhungar (hot coal) method?
No, you can completely skip it! The Dhungar method is a kitchen hack designed to mimic the woody flavor of a real tandoor oven when you are stuck cooking indoors. If you are already cooking over actual charcoal outside, the natural smoke from the grill grates and dripping fats will give the chicken all the authentic, smoky flavor it needs.
When exactly should I do the Dhungar method if cooking indoors?
You should do it right after building the marinade, before you let the chicken rest. Once your chicken is thoroughly tossed in the thick yogurt and spice mixture, perform the hot coal step, seal the bowl tightly with foil, and let it smoke for 3 to 5 minutes. After you discard the coal, cover the bowl back up and pop it into the fridge to marinate. Smoking it at this stage ensures the smoky aroma binds perfectly with the fats in the oil and yogurt, locking that flavor deep into the meat.
Serving Suggestions
- Rice or Naan
- Salad
- Coriander Mint Chutney, Garlic Yogurt Dip or Raita
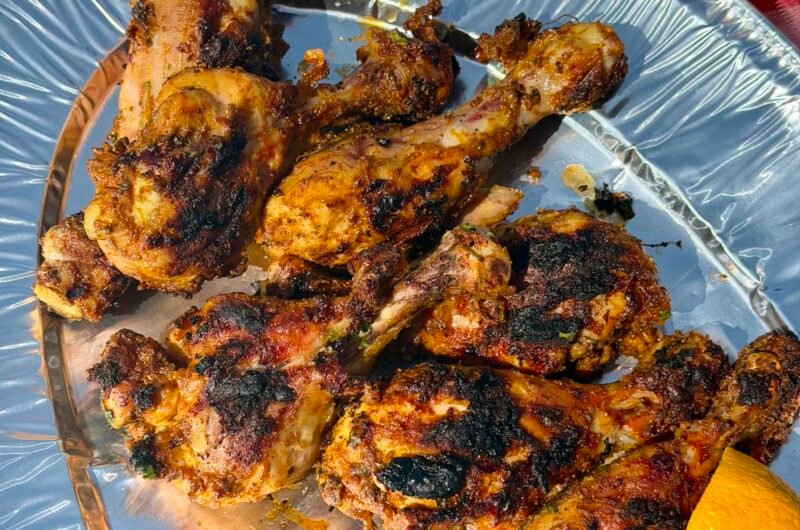
Restaurant-Style Indian Chicken Tikka
Course: Appetizers, MainCuisine: Indian, North IndianDifficulty: Easy6
servings1
hour10
minutes20
minutesLooking for something tasty and easy to make? Check out this Chicken Tikka recipe. It’s super savory and delicious, perfect for impressing guests or enjoying as part of your main course. Give it a try, you won’t be disappointed! The actual prep time is only 10 minutes top and the rest is just letting marinate for as long as possible
Ingredients
1kg bone-in chicken or boneless thighs
- Marinade
1/3 cup mustard oil
2-3 heaping tbsp of Greek yogurt
1 tsp spicy chilli powder
2-3 tsp kashmiri chilli powder
1 tsp garam masala
2 tsp coriander powder
1 tsp cumin powder
1/2 tsp turmeric powder
2.5 tsp kasuri methi
3-4 tbsp lime juice
7-8 big cloves of garlic, thumb-sized piece of ginger, 3-4 green chilies smashed into a rough paste
salt to taste
Directions
- Bloom Spices
- In a large bowl, whisk together the mustard oil and dried spices. Let them sit for a minute to bloom; this activates the spices for vibrant color and deep flavor penetration
- Build Marinade
- Stir in the kasuri methi, smashed ginger, garlic, green chilies, and lime juice. Whisk in the yogurt until the marinade is smooth and fully combined.
- Prep & Mix
- Make deep slits in the chicken pieces if using bone-in so the marinade can penetrate the meat. Toss the chicken in the bowl, ensuring every piece is heavily coated
- Marinate
- Leave for atleast 1 hour to marinate or overnight for best results
- Setup & Initial Grill
- Line a baking tray with foil for easy cleanup and place a grill rack over it. Arrange the chicken on the rack. Grill on the oven’s middle slot at 200°C (using the grill/broil setting) for 15 minutes
- The Char
- Move the tray up to the second slot and increase the heat to 220°C. Grill for an additional 5 minutes or until the chicken gets beautifully charred and cooked
- Serve
- Serve hot alongside a refreshing coriander-mint chutney or cooling raita. Enjoy!
Recipe Video
Notes
- Marinate for at least 60 minutes if you can’t for longer. The ideal is anywhere between 60 minutes to overnight.
- Depending on the size of your chicken pieces, the cooking time might vary so keep an eye on your oven
- For best results, cook it on the grill rack of your oven instead of lining it on a baking tray. This allows the oil to drip and for it to become charry





Leave a Reply