A few years ago, I watched my aunt put a big bunch of fresh kale straight into a pot of dal. My first thought was like “Whaaaaaa?” but after taking just one bite, I was completely hooked. It was such a smart way to use a green most don’t love. Kale gets a bad rap sometimes because most of us only ever eat it raw in boring salads. But tossing it into a cozy dal completely transforms it. The tough leaves wilt down into the dal, absorbing all those rich flavours while adding incredible nutrition to the pot.
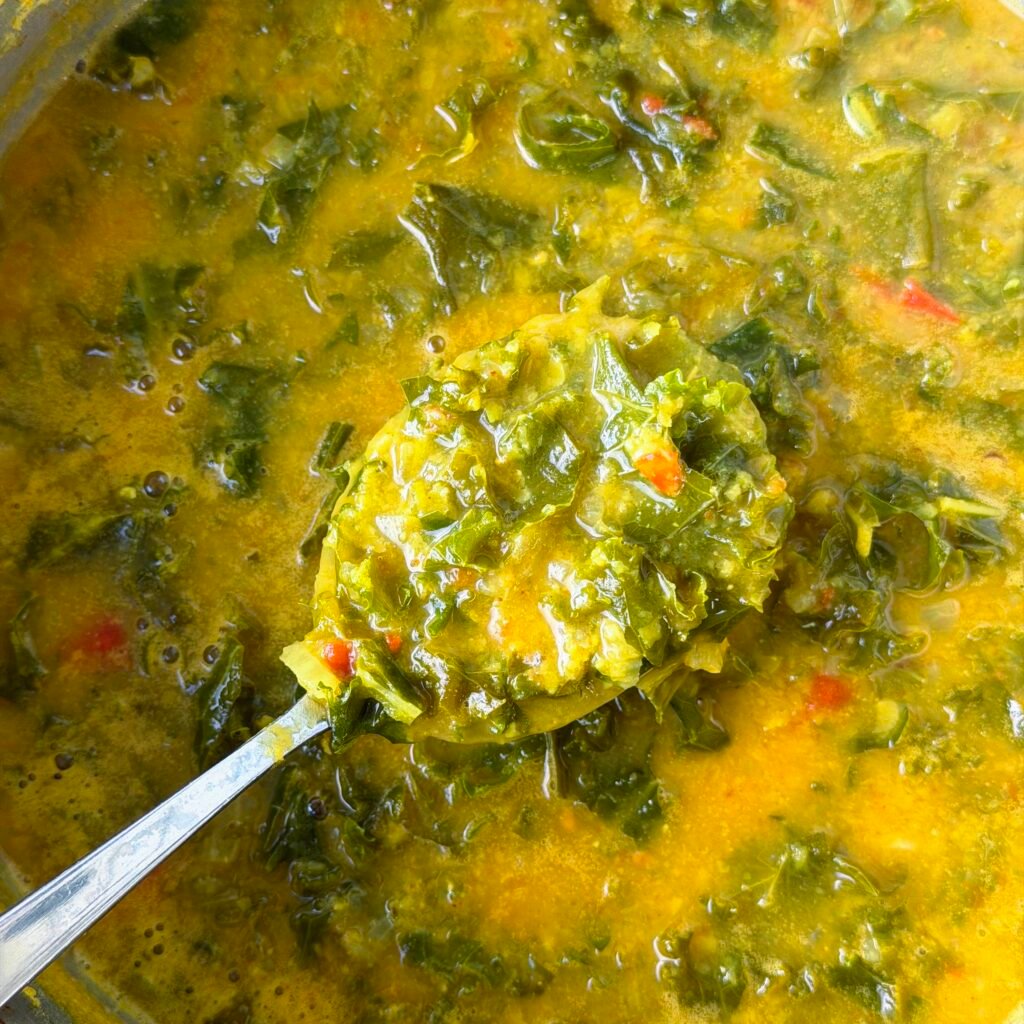
If you already love Indian food and want a fun way to add new greens to your routine, or if you bought a bag of kale and have no idea what to do with it besides a salad, this recipe is for you. It’s super quick, ultra-comforting, and honestly the easiest way to make kale taste genuinely delicious on a weeknight.
Why You’ll Love This Quick Dump-and-Cook Kale Dal
High-Nutrient Comfort Food
Kale is loaded with vitamins A, C, and K, as well as fiber and antioxidants. Pairing it with plant-based protein from yellow pigeon peas (toor dal) and red lentils (masoor dal) turns a simple dal into a nutrient-dense powerhouse.
Effortless Weeknight Cooking
This recipe relies on a simple dump-and-cook pressure cooker method. There is no tedious pre-sautéing required for the base—just combine the ingredients, lock the lid, and cook for two whistles.
Rapid Garlic Ghee Tempering
The secret to huge flavor in minimal time is the cold-pan garlic tadka. Starting your garlic in cold ghee allows the rich garlic oil to infuse without burning, while blooming warm spices like chili and coriander in seconds.
Ingredients You’ll Need
For the Dal Base
- Toor Dal (Yellow Pigeon Peas): Provides a hearty texture and classic dal flavor base.
- Masoor Dal (Red Lentils): Cooks down quickly and adds a creaminess to the broth.
- Onions & Tomatoes: Chopped medium to create a savory, tangy aromatic balance.
- Ground Turmeric & Salt: Essential baseline seasoning for cooking lentils.
- Fresh Kale: Stemmed and chopped fine.
For the Cold-Start Tadka (Tempering)
- Ghee: Adds a rich, nutty aroma. Use 3 tablespoons if liquid or 1.5 tablespoons if solid.
- Garlic: Thinly sliced to crisp up and infuse the oil.
- Spicy Chili Powder & Kashmiri Chili Powder: Spicy chili powder adds heat, while Kashmiri chili powder adds a vibrant red hue without overwhelming spiciness.
- Coriander Powder: Gives an earthy, citrusy background depth.
- Turmeric Powder: Enhances color and warmth.
Step-by-Step Instructions
Step 1: Pressure Cook the Lentils
In a pressure cooker, combine the rinsed toor dal, masoor dal, chopped onion, chopped tomato, ¼ teaspoon turmeric powder, salt, and just enough water to cover the ingredients. Pressure cook on medium heat for two whistles. Allow the pressure to release naturally.
Step 2: Prep and Massage the Kale
While the dal cooks, take the washed, stemmed, and chopped kale leaves and massage them firmly between your hands for 1–2 minutes. Massaging breaks down tough plant fibers, softening the leaves and releasing any harsh bitterness.
Step 3: Mash Dal and Add Kale
Open the pressure cooker and lightly mash the cooked dal with the back of a spoon or a whisk. Stir in the massaged kale. Place the pot over low heat to simmer. Add extra warm water at this stage depending on your preferred consistency.
Step 4: Start the Cold-Oil Tadka
In a small tadka (tempering) pan, combine the ghee and sliced garlic while the pan is still cold. Turn the heat to low-medium and gradually bring it up to temperature. Cooking the garlic from a cold start allows it to brown evenly and infuse the ghee without burning.
Step 5: Bloom the Spices
Once the garlic turns light golden brown, lower or turn off the heat. Immediately add the chili powder, Kashmiri chili powder (if using), coriander powder, and ½ teaspoon turmeric. Stir quickly to bloom the spices in the hot ghee for a few seconds.
Step 6: Combine and Serve
Pour the sizzling hot tadka directly into the simmering dal. Mix well to incorporate all the flavors. Adjust salt if needed, and serve piping hot alongside steamed rice.
Pro Tips for the Best Kale Dal
Massage Your Kale
Do not skip massaging the kale! Raw kale can be tough and slightly bitter. Massaging it relaxes the cell walls, ensuring it wilts quickly into the dal while retaining a bright green color and tender texture.
Don’t Overcrowd with Water Initially
When pressure cooking the lentils, add just enough water to cover them. You can easily thin out the dal later with warm water when adding the kale, ensuring you maintain full control over the final consistency.
Master the Cold Tadka Technique
Garlic burns very easily when dropped into hot oil or ghee. Adding sliced garlic to a cold pan with ghee and slowly bringing up the heat ensures sweet, nutty brown garlic every single time.
Frequently Asked Questions (FAQ)
Can I make this kale dal vegan?
Yes! Simply swap the ghee used in the tadka for neutral oil, mustard oil, or coconut oil.
Can I cook this dal in an Instant Pot?
Absolutely. Combine the dal ingredients in your Instant Pot with 2 cups of water and cook on High Pressure for 8 minutes, followed by a natural pressure release for 10 minutes. Then use the Sauté function on Low to simmer the kale and add your cooked tadka.
Can I make this recipe in a regular pot without a pressure cooker?
Yes. Combine the rinsed lentils, onion, tomato, turmeric, salt, and 3 to 3.5 cups of water in a heavy-bottomed pot. Cover and simmer on medium-low heat for 30–35 minutes until the lentils are completely soft, adding more water if necessary, before adding the kale and tadka.
How do I store and reheat leftovers?
Store cooled kale dal in an airtight container in the refrigerator for up to 4 days. Reheat on the stove over medium heat or in the microwave. Since cooked dal thickens as it cools in the fridge, splash in a few tablespoons of warm water when reheating to restore its original texture.
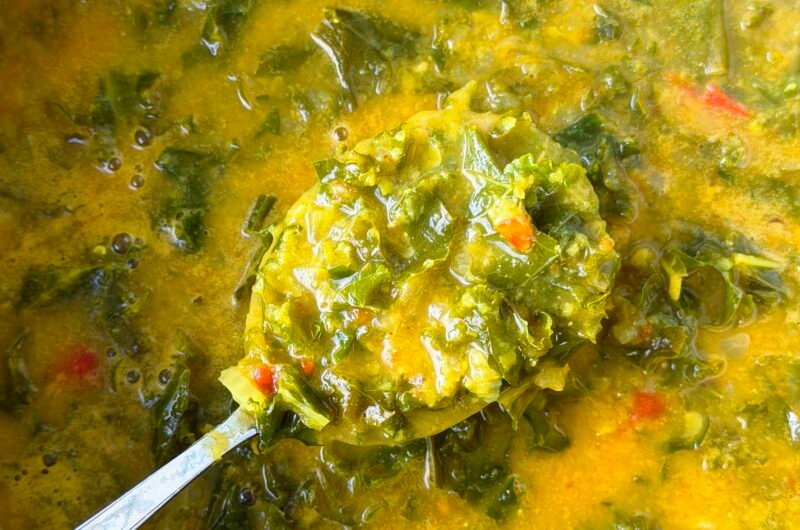
Kale Dal
Course: MainCuisine: IndianDifficulty: Easy4
servings10
minutes15
minutesA hearty, comforting dal packed with nutrient-rich kale and finished with a fragrant garlic and chili ghee tadka.
Ingredients
- For the Dal
Toor dal (pigeon peas): ½ cup, rinsed
Masoor dal (red lentils): ¼ cup, rinsed
Onion: 1½ medium, chopped
Tomato: 1 medium, chopped
Turmeric powder: ¼ tsp
Salt: to taste
Kale: 1 bunch, stems removed and leaves chopped
Water: as needed
- For the Tadka (Tempering)
Ghee: 3 tbsp melted (or 1½ tbsp if solid)
Garlic: 4–5 cloves, thinly sliced
Spicy chili powder: 1 tsp
Kashmiri chili powder: ½ tsp (optional, for a richer red color)
Coriander powder: 2 tsp
Turmeric powder: ½ tsp
Directions
- Pressure Cook the Lentils
- In a pressure cooker, combine the rinsed toor dal, masoor dal, chopped onion, chopped tomato, ¼ tsp turmeric powder, salt, and just enough water to cover the ingredients. Pressure cook for 2 whistles on medium heat. Allow the pressure to release naturally.
- Prep & Massage the Kale
- While the dal is cooking, take the washed, stemmed kale leaves and massage them firmly between your hands for 1–2 minutes. Massaging breaks down the tough fibers, softening the leaves and releasing any harsh bitterness.
- Chop it up into small pieces
- Mash Dal & Add Kale
- Open the pressure cooker and lightly mash the cooked dal with the back of a spoon or a whisk. Stir in the massaged kale. Place the pot over low heat to simmer. Add extra warm water at this stage, if needed, until you reach your desired consistency.
- Tadka
- In a small tadka (tempering) pan, add the ghee and sliced garlic while the pan is still cold. Turn the heat to low-medium and gradually bring it up to temperature. Cooking the garlic from a cold start allows it to infuse the ghee evenly without burning.
- Once the garlic turns light golden brown, turn off or lower the heat. Immediately add the chili powder, Kashmiri chili powder (if using), coriander powder, and ½ tsp turmeric. Stir quickly to bloom the spices in the hot ghee for a few seconds.
- Combine & Serve
- Pour the sizzling hot tadka directly into the simmering dal. Mix well to incorporate all the flavors. Adjust salt if needed, and serve piping hot alongside steamed rice.


Leave a Reply